In my last two blogs I’ve explained how easy it is to take light, bright, natural looking photos with just the use of an Iphone and the App, Snapseed. The most exciting part of achieving good photos (as far as I’m concerned anyway) is being able to get great shots to start with and then knowing some simple tricks to lighten and really enhance everything. Knowing how to crop your photos, how to correct little flaws, put text on and frame your work are all really important too though, so I’ve still got a bit more to share with you (I never actually realized just how much “stuff” I had in my head about taking a photo with a phone, it’s kind of good to get it all out finally and make space for something different
If you haven’t yet read Part 1 and Part 2 you can read these first.
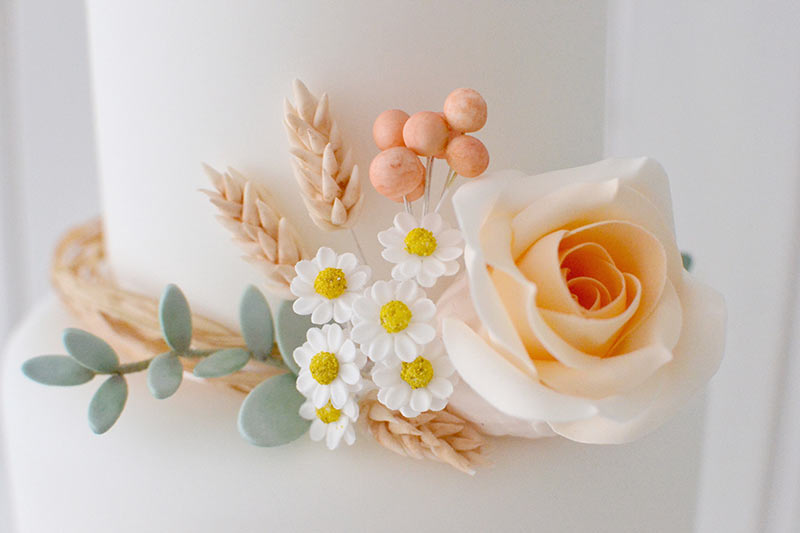
For those of you who have read my previous two blogs, you’ll be pleased to know that I’ll be talking about the Snapseed App again today. This really is a great App for editing as there’s so many fab tools to chose from, a great range of text and it’s pretty easy to use (coming from a person who breaks out in a sweat when she has to change a password, “pretty easy to use” isn’t a phrase I use lightly either)
The Healing tool is a genius creation on Snapseed and something I only discovered recently. Now I’ve found it I spend ages “looking” for flaws to fix. It’s great fun watching tiny mistakes disappear before my very eyes. You’ll find it in the row below the Brush tool that you’ve been using to lighten your photos with. It looks like a little Band Aid. (if you haven’t read my previous blogs it might be a good idea to read them before you read this one, otherwise there is a huge possibility you’ll be wondering what on earth I’m talking about right now)
The best way to correct flaws is to really enlarge the photo on the screen, don’t be afraid to make it HUGE!!! The bigger you make your picture, the more errors you can spot. As soon as the photo is enlarged, a rectangle appears in the bottom left hand corner. This rectangle has another tiny blue rectangle just inside it and this box is what you use to “fix” your photo. The idea is to move the tiny blue rectangle around inside the larger rectangle (using your finger) until the screen displays the part of the photo you’d like to work on. As soon as you can see the flaw, tap your finger onto it and it will disappear…. magic!!! (the flaw will disappear not your finger obviously). If you don’t enlarge the photo at the onset, your finger will correct an enormous part of the photo and create a very messy splodge, so always remember to enlarge the screen first.
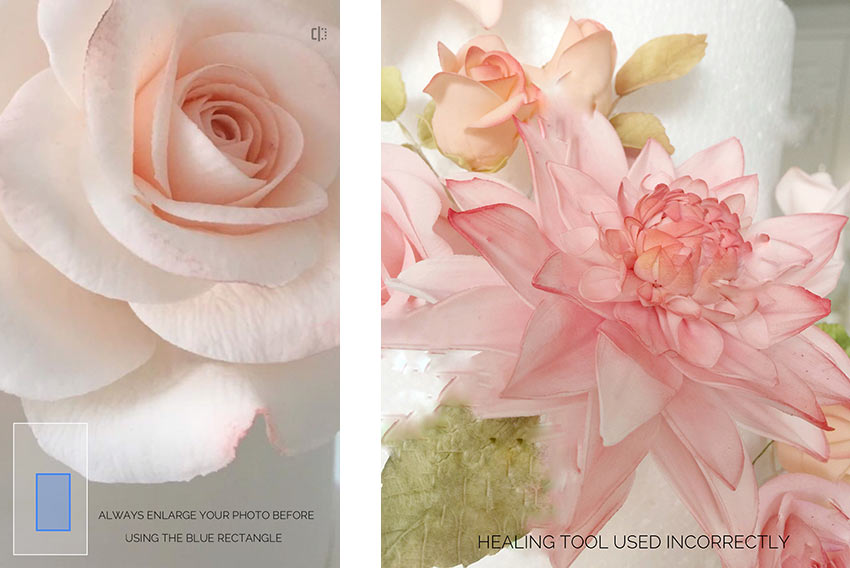
Once you’ve finished and you’re ready to save everything, hit the Tick that sits in the bottom right hand corner. If you’ve made some splodges along the way, press the X in the bottom left hand corner instead of the Tick, “undo” your splodges and then start again… told you it was genius!!!
When it comes to CROPPING, keep it really simple. Start by choosing the Crop Tool and you’ll see that there’s a row of different shapes at the bottom of the page that you can chose from. I’ve tried them all and to be honest the only one I ever use now is the FREE version at the beginning of the row. This doesn’t mean “no payment type of free” (this is a FREE App already remember) it simply means “free hand”. The others are really restrictive and I gave up with them eventually.
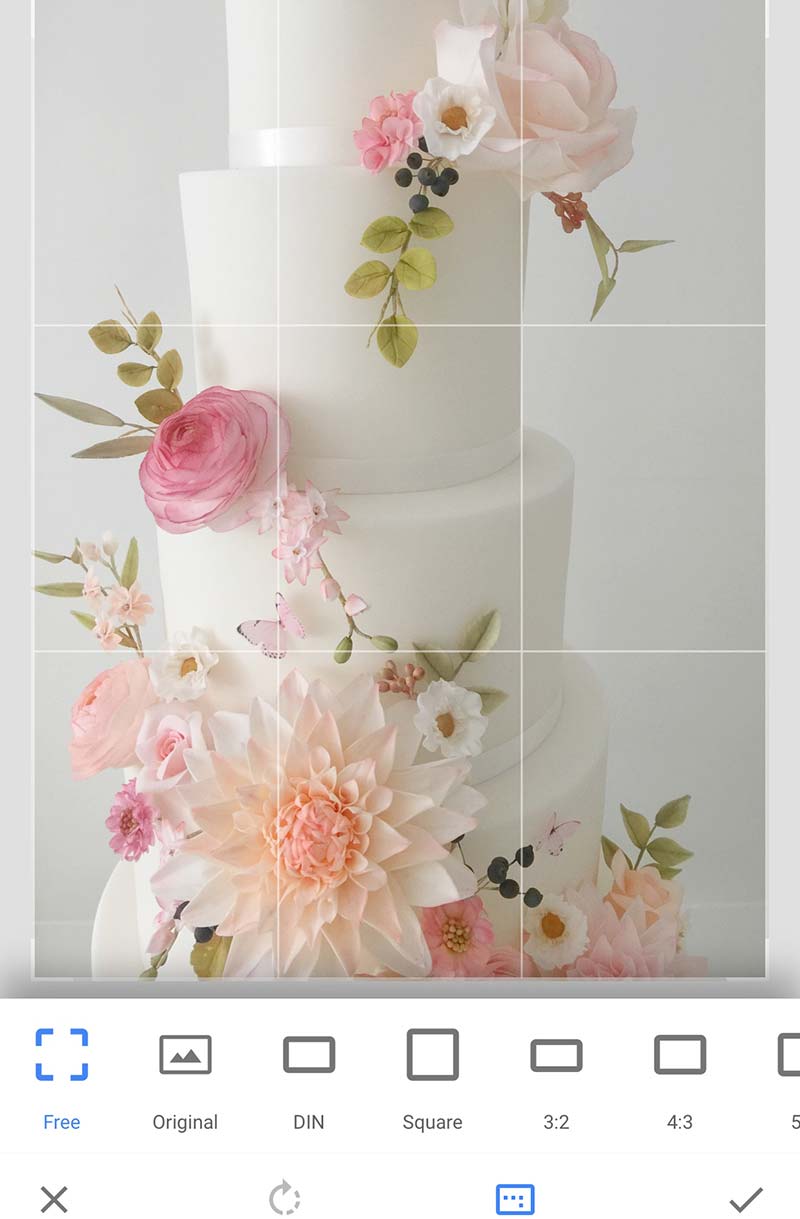
It’s quite easy to crop your photo. Tap on the FREE tool and you’ll see a grid appear over your photo. Place your finger in the bottom right hand corner of the screen and slowly slide it upwards. A little blue crop line will appear at the base of your picture and wherever you let it rest is where the photo will now finish. Once you’re happy with your bottom cropping, (by this I do mean bottom of your photo and not cropping off parts of your body) you can repeat this stage again, this time pulling the photo in on the left and then on the right ( or the right and then the left, depending on your mood that day)
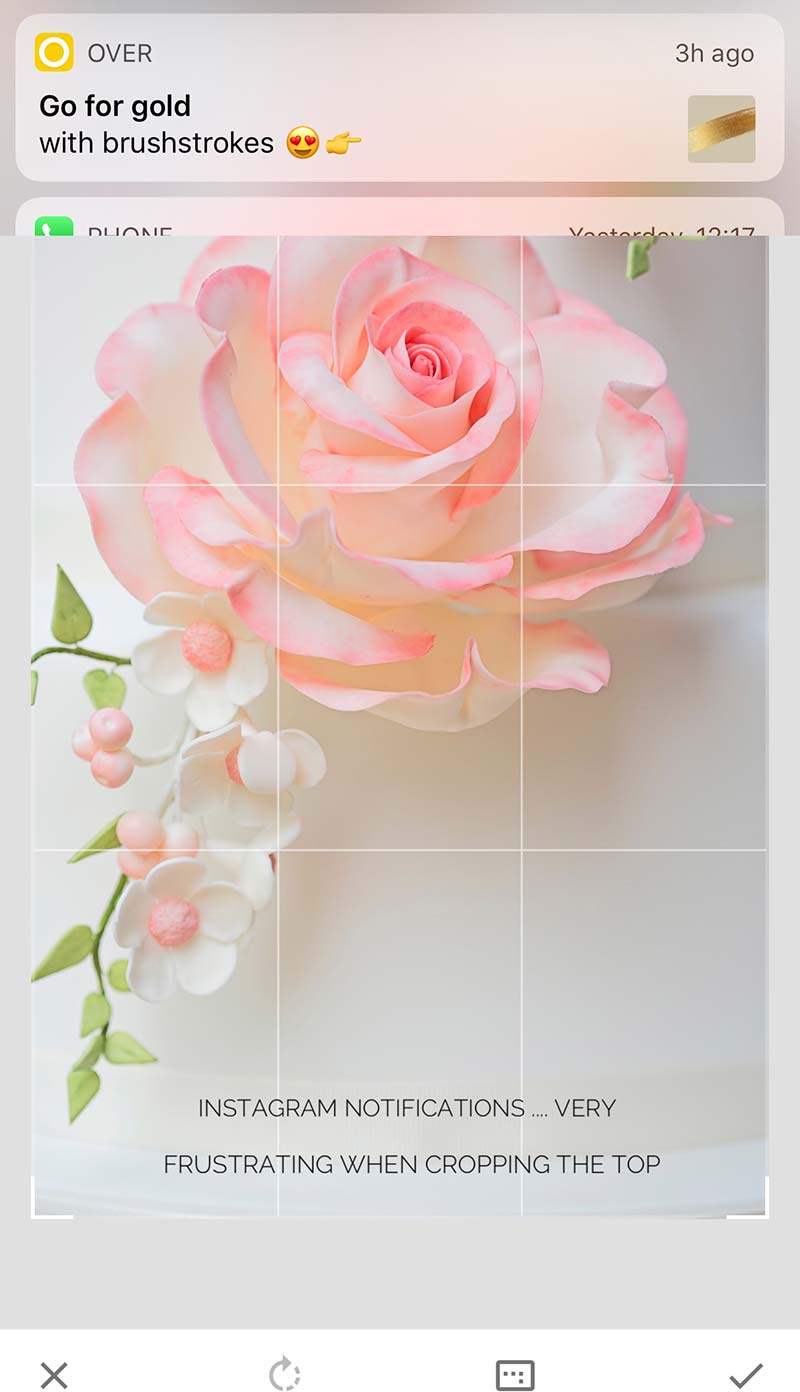
If I’m honest I struggled with cropping the TOP of my photo for ages, in fact I often thought about messaging Snapseed and telling them there was a massive flaw with their cropping tool. I only realized how to do it properly when I sat down to write this blog. (I’m pretty sure the blogger who writes the blog isn’t meant to learn from it but I did!!! I’m hoping that make me a good teacher rather than very stupid). Anyway, every time I used my finger to crop the top of the photo ie start in the top corner and slide finger downwards, I bought down the entire days worth of Instagram Notifications rather than the little blue crop line. It usually took about ten attempts before I could get the crop line to sit where I wanted it. When I found the solution I couldn’t believe how simple it was!! Instead of placing my finger at the very top of the screen (and catching all the notifications as I go) I now start a fraction lower (about a cm) and guess what… no more Notifications …very happy Ali!!!(I’m so pleased I never contacted Snapseed, can you imagine my shame!!!) Hit the Tick to save and it’s all done.
In next week’s blog I’ll be telling you lots of fab stuff about Applying Text and how to add Frames. To finally start getting your work noticed and be able to shout your message to people and potential clients !!! Remember you can email me if you get really stuck alison@thelittlesugarbox.com
Ali xx
Newsletter
My studio is just 35 minutes away from London on the high speed train link and for those driving, 10 minutes from the motorway with plenty of FREE parking.
